This week’s set-piece analysis looks at Port Vale’s second goal against Tranmere, where a cleverly worked routine exploited Tranmere’s man orientated marking.
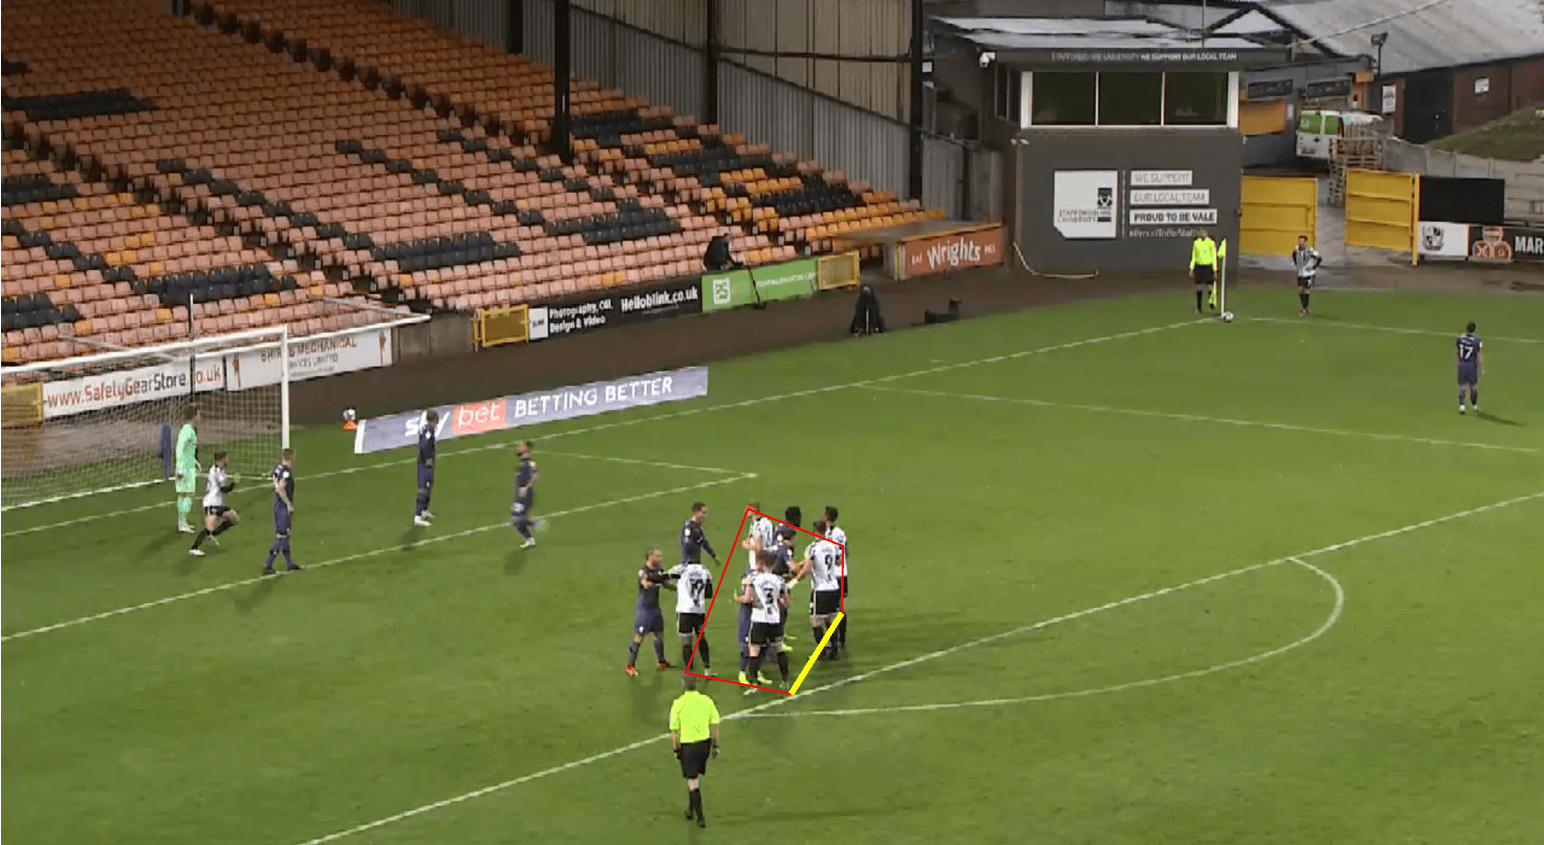
The play starts with Port Vale overloading the edge of the penalty area, and due to Tranmere’s system, they commit the same number of man markers out to mark each player. They also leave one player higher amongst the two zonal markers of Tranmere. Due to the overload around the edge of the box, Tranmere initially focus on this area, and are late to commit a man onto the higher Port Vale player.

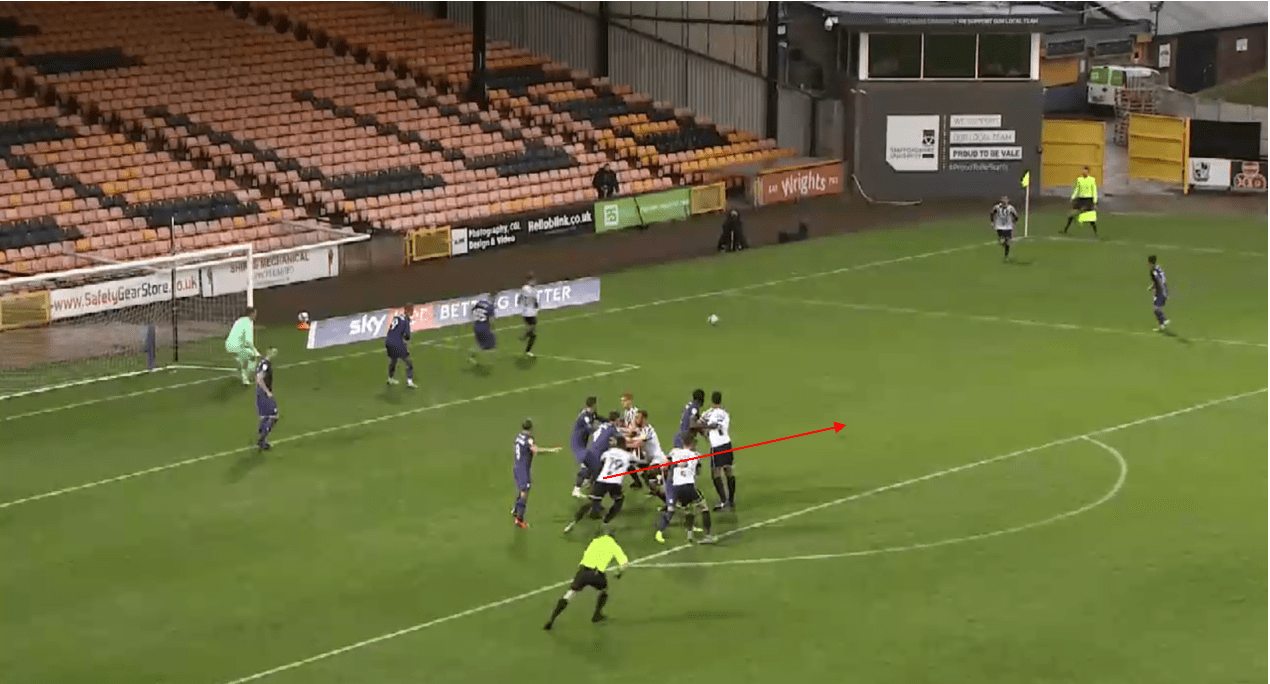
This higher player then makes a blindside movement behind the zonal markers to receive a short pass outside the six-yard box. The deeper crowd of players are structured at different heights, and we can see in the image above that a lane is created on the outside of this group, for number 19, David Amoo, to run through. Once the ball is played short, he begins his run. If we look at his marker, we see he is solely focused on the ball and isn’t even watching Amoo, with this ball watching often something which can occur in man-oriented systems.

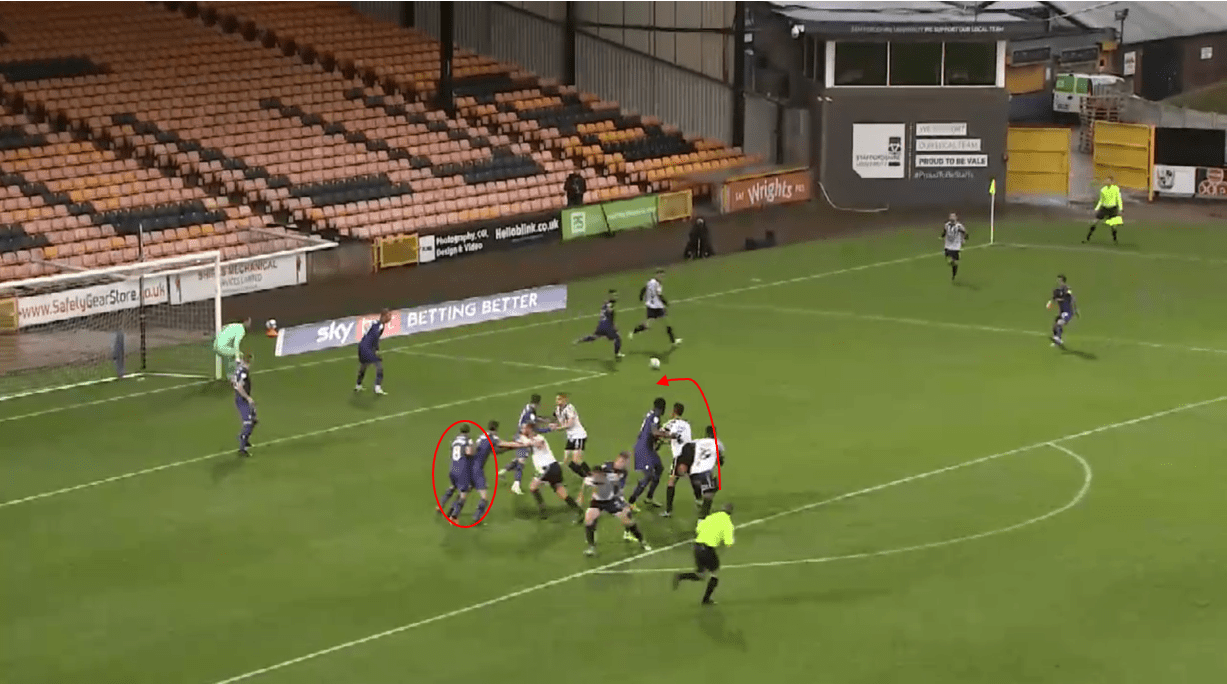
As a result, Amoo is able to get a free run, and due to the staggering of Port Vale, lanes open for him to run through. Port Vale’s markers remain on the far side of their opponents, and so can all act as blockers in order to shield Amoo’s run. We see Amoo’s marker hasn’t even moved, but even if he had it is unlikely he would have affected the play due to the traffic created.

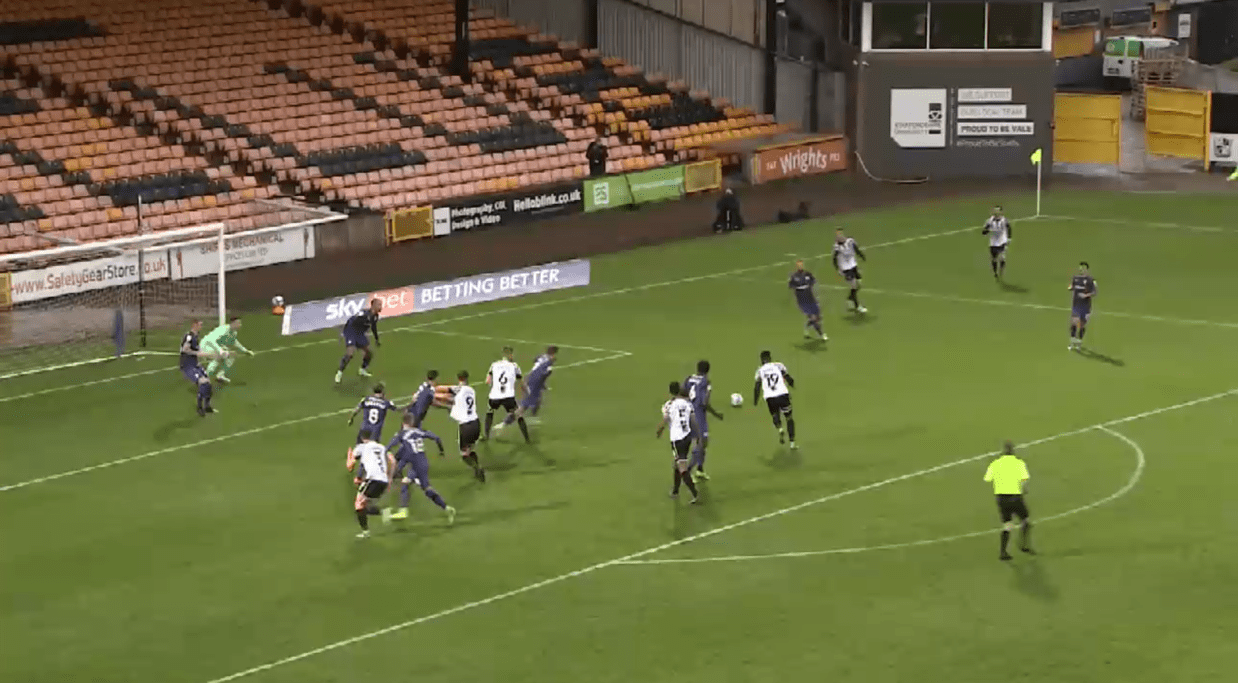
The front post player flicks the ball around the corner, and Amoo has a free shot from around twelve yards out. A well worked routine which demonstrates how man-marking can be manipulated.


Comments